Hey there, paint enthusiasts! It’s your pals at Kucker Haney Paint Co., and we’ve got a brush load of wisdom to share with you about the fine art of trim painting. Are you ready to give your home a stunning makeover with those finishing touches? Well, grab your paintbrush, and let’s dive into the ultimate guide to painting trim!
Hello, Trim Transformation Seekers!
Welcome back to the Kucker Haney Paint Co. blog, where we’re all about helping you create spaces that reflect your style and personality. Today, we will tackle a topic that might seem like a minor detail, but trust us, it’s the key to achieving a polished, professional look in your home – trim painting!
Why Trim Painting Matters
Let’s start with the basics. Trim, those elegant moldings and edges that outline your walls, doors, and windows, might be the unsung heroes of interior design. They’re like the frame around a masterpiece, elevating your space’s overall look and feel. But for that “wow” factor, proper trim painting is essential.
Prep Like a Pro
Before you even think about grabbing a paintbrush, set the stage for success by prepping your trim. This means sanding down any rough spots and cleaning away dust and grime. You want that surface to be as smooth as butter for the paint to adhere properly. You can purchase your paint prep supplies while we mix your paint at either of our three Kucker Haney Paint stores in Mercer County.
Choose Your Weapon – Err, Paint
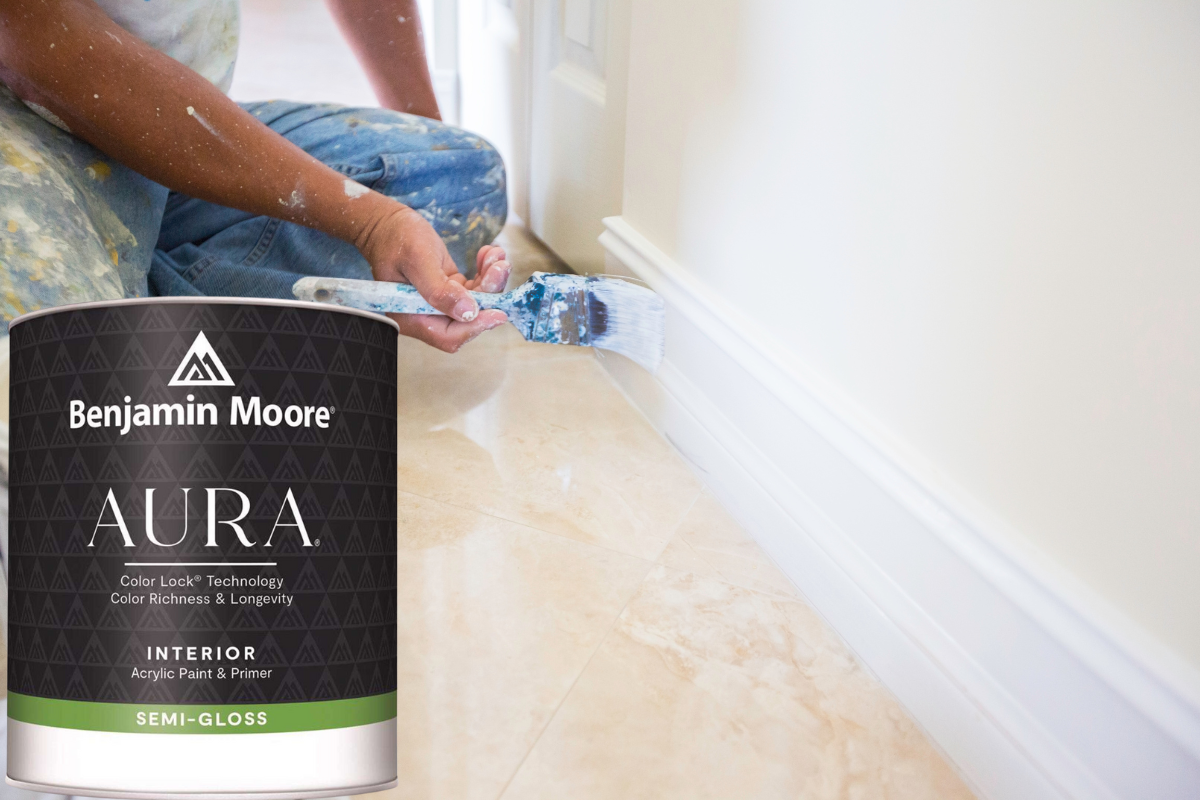
Now comes the fun part – picking the right paint. We recommend high-quality, durable paint that can withstand the test of time. Look for a paint that’s designed explicitly for trim and woodwork. Benjamin Moore Aura Interior Paint in Semi-Gloss is highly recommended. It a durable paint, easy to clean and is available in 3500 colors. You might be tempted to skimp on quality, but trust us, investing in good paint will save you headaches down the road.
Brush Up on Technique
Alright, now for the painting itself. Start by using a smaller brush for precision and control. This is where the magic happens, as you carefully paint along the edges and details of your trim. Keep those brush strokes smooth and even, and don’t overload the brush with paint – less is more here.
Tape or Not to Tape
Ah, the eternal question – do you need painter’s tape? Well, it depends on your confidence level. If you’re a steady-handed Picasso, you might not need it. But if you’re like most of us, painter’s tape can be a lifesaver. Apply it along the wall to create a clean, straight line, ensuring your trim stays perfectly pristine.
Patience, Young Painter, Patience
One of the most essential ingredients in trim painting success is patience. Take your time, don’t rush the process. Allow each coat of paint to dry thoroughly before applying the next. It might be tempting to speed things up, but patience pays off in the end.
The Final Flourish
Step back and admire your handiwork as you put the finishing touches on your trim painting masterpiece. You’ve transformed your space with just some paint and much love. And remember, we’re always here to help at Kucker Haney Paint Co. Reach out if you have any questions or need advice along the way.
In Conclusion
Trim painting might be a small step, but it’s a big deal when creating a stunning home interior. With some prep, the right tools, and patience, you’ll be well on your way to achieving a professional finish that’ll make your space shine. Thanks for joining us today – until next time, keep painting those dreams into reality with Kucker Haney Paint Co.!

